Dyeing leather is one of the best ways to restore old leather items or completely change their appearance. Whether you want to refresh faded leather, darken the color, or create a custom style, leather dye can transform shoes, bags, jackets, belts, furniture, and many other leather products.
However, leather dyeing requires proper preparation and technique to achieve smooth and professional-looking results. Using the wrong products or skipping important steps can lead to uneven color, stains, or damaged leather.
The good news is that with the right materials and patience, dyeing leather can be a successful DIY project. In this guide, you will learn how to dye leather safely and effectively while achieving rich and long-lasting color.
Why Dye Leather?
Leather dyeing is popular for both restoration and customization.
Dyeing leather helps:
- Restore faded leather
- Change leather color
- Cover scratches and stains
- Refresh old leather items
- Create custom designs
- Extend leather lifespan
A fresh dye job can make old leather look new again.
Step 1: Identify the Leather Type
Before dyeing leather, determine what type of leather you have.
Leather dye works best on:
- Genuine leather
- Vegetable-tanned leather
- Smooth finished leather
Some materials are harder to dye, including:
- Faux leather
- Suede
- Heavily sealed leather
Always check manufacturer information if available.
Testing the leather type helps avoid poor dye absorption and uneven results.
Step 2: Choose the Right Leather Dye
Different dyes create different finishes and effects.
Common Types of Leather Dye
Alcohol-Based Dye
- Dries quickly
- Produces rich color
- Common for professional results
Water-Based Dye
- Easier cleanup
- Lower odor
- Safer for indoor use
Oil-Based Dye
- Penetrates deeply
- Creates durable finishes
Choose a color that matches your desired result carefully because some dyes appear darker after drying.
Step 3: Gather Necessary Supplies
Before starting, prepare all materials.
Tools and Materials Needed
- Leather dye
- Gloves
- Microfiber cloths
- Sponge or applicator
- Soft brush
- Leather cleaner
- Painter’s tape
- Leather conditioner
- Protective covering for workspace
Working in a clean and organized area makes the process easier.
Step 4: Clean the Leather Thoroughly
Leather must be completely clean before dyeing.
How to Clean Leather Before Dyeing
Use:
- Leather cleaner
- Mild soap solution
- Soft cloth
Remove:
- Dirt
- Oils
- Dust
- Old polish
- Surface residue
Dirty leather can prevent dye from absorbing evenly.
Allow the leather to dry fully before moving to the next step.
Step 5: Remove the Existing Finish if Necessary
Some leather items have protective coatings that block dye absorption.
Using a Leather Deglazer
Apply leather preparer or deglazer using a soft cloth.
This helps:
- Remove sealants
- Open leather pores
- Improve dye penetration
Work carefully and evenly across the surface.
Proper preparation greatly improves dye results.
Step 6: Apply the Leather Dye
Now the leather is ready for dyeing.
How to Apply Dye
Use:
- Sponge
- Wool dauber
- Soft cloth
- Airbrush (optional)
Apply thin and even coats using circular or consistent strokes.
Important Tips
- Start with light coats
- Build color gradually
- Avoid oversaturating the leather
Uneven application can cause streaks and blotches.
Allow each coat to dry before applying another layer.
Step 7: Let the Leather Dry Completely
After dyeing, allow the leather to dry naturally.
Drying Tips
- Keep in a ventilated area
- Avoid direct sunlight
- Avoid excessive heat
Drying times vary depending on the dye type and leather thickness.
Touching wet dye too early may ruin the finish.
Patience during drying helps create smoother results.
Step 8: Buff the Leather Surface
Once dry, buff the leather gently with a clean cloth.
Buffing helps:
- Remove excess dye residue
- Improve shine
- Smooth the finish
Continue buffing until the cloth no longer picks up loose dye.
This step helps reduce color transfer later.
Step 9: Apply Leather Conditioner or Finish
Dyeing can slightly dry out leather, so conditioning is important afterward.
Benefits of Conditioning
- Restores moisture
- Prevents cracking
- Improves flexibility
- Enhances appearance
Apply a small amount of leather conditioner evenly.
You can also apply a leather sealant or finish for additional protection.
Step 10: Allow the Dye to Cure Properly
Even after drying, leather dye needs time to cure fully.
Avoid heavy use of the leather item for at least 24–48 hours.
Proper curing improves:
- Durability
- Color stability
- Resistance to rubbing
Rushing this step may damage the final finish.
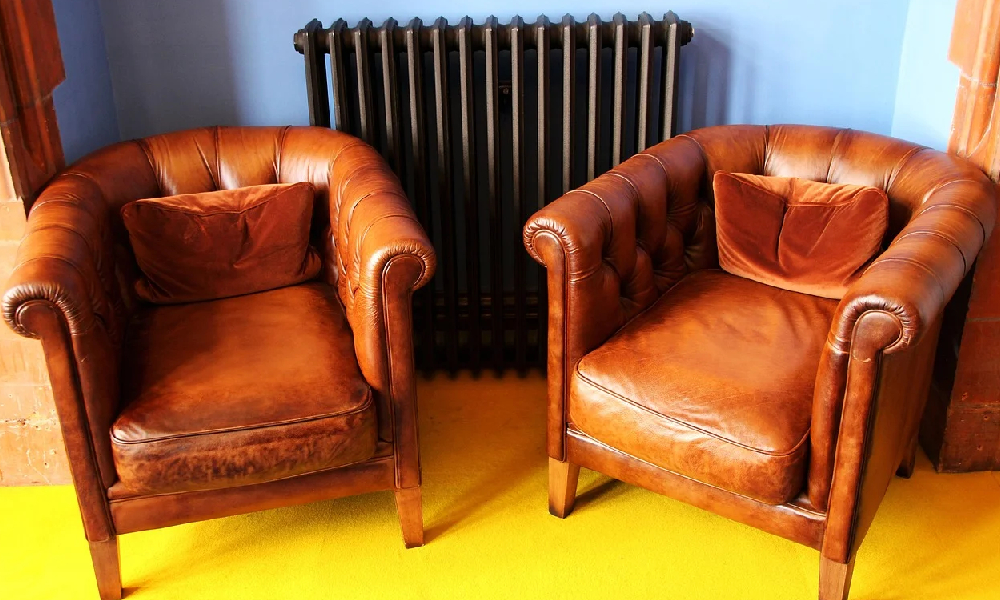
Best Leather Items for Dyeing
Many leather products can be successfully dyed.
Common Leather Items
- Shoes
- Boots
- Jackets
- Bags
- Wallets
- Belts
- Furniture
- Car seats
Smooth leather surfaces usually produce the best dye results.
Common Mistakes to Avoid
Many dyeing problems happen because of poor preparation or rushed application.
Avoid these mistakes:
- Skipping leather cleaning
- Applying thick dye coats
- Using the wrong dye type
- Not testing the dye first
- Drying leather with direct heat
- Forgetting to condition afterward
Careful preparation is the key to successful leather dyeing.
How to Maintain Dyed Leather
Proper maintenance helps preserve the new color.
Leather Care Tips
- Clean gently
- Condition regularly
- Avoid excessive sunlight
- Keep away from moisture
- Store properly
Good maintenance helps dyed leather stay vibrant longer.
Can You Change Leather from Dark to Light?
Changing leather from dark to light is difficult because dye penetrates deeply into leather fibers.
Dark-to-light changes usually require:
- Removing existing dye
- Professional bleaching methods
- Repainting instead of dyeing
Light-to-dark color changes are generally much easier.
Final Thoughts
Dyeing leather is an excellent way to restore, customize, and refresh leather items without replacing them. By choosing the right dye, preparing the leather properly, applying thin even coats, and conditioning afterward, you can achieve professional-looking and long-lasting results.
The most important parts of the process are patience and preparation. Taking time to clean, prep, and dry the leather correctly can make a huge difference in the final appearance.
Whether you are restoring old boots, changing the color of a leather bag, or refreshing worn furniture, proper leather dyeing techniques can help bring new life to your favorite leather items.
- Dedicated and performance-focused SEO Specialist with professional expertise in Furniture, Kitchen, Leather, Home Interior, and Lifestyle industry SEO.
- Experienced in creating data-driven SEO strategies that improve organic rankings, website authority, lead generation, and long-term business growth.
- Specialized in SEO for:
- Modular Kitchen & Smart Kitchen Solutions
- Kitchen Cabinets & Accessories
- Home, Office & Custom Furniture
- Bedroom, Dining & Living Room Furniture
- Interior Design & Home Décor
- Leather Fashion & Lifestyle Products
- Advanced experience in Leather industry SEO, including:
- Genuine Leather Products
- Leather Bags & Travel Accessories
- Leather Wallets & Card Holders
- Leather Belts & Corporate Accessories
- Handmade Leather Goods
- Leather Jackets & Fashion Items
- Premium & Luxury Leather Collections
- Core SEO expertise includes:
- On-Page SEO Optimization
- Technical SEO Audits
- Off-Page SEO & Link Building
- Keyword Research & Competitor Analysis
- SEO Content Planning
- E-commerce SEO
- Local SEO
- Google Search Console & Analytics Optimization
- Website Structure & User Experience Improvement
- Strong understanding of SEO-friendly product content, category structure, and conversion-focused digital marketing strategies.
- Experienced in optimizing eCommerce and business websites for higher visibility, better user engagement, and sustainable organic traffic growth.
- Ability to combine business strategy, audience research, and modern SEO techniques to build strong digital brand presence.
- Educational Qualifications:
- Graduation in Geography & Environment from Government B. L. College
- MBA in HRM from Sundarban University
- Passionate about continuous learning, search engine algorithm updates, AI-driven SEO trends, and digital business development.
- Believes in ethical SEO practices, professionalism, transparency, and long-term client success.
- Strong communication, leadership, and project management skills with the ability to work on both local and international projects.
- Proud follower of Islam, maintaining values of honesty, discipline, respect, and responsibility in every professional commitment.
- Based in Khulna and actively working in the digital marketing and SEO industry with a vision for sustainable online growth and branding excellence.